Whenever I sell a stretched painting, I always make sure there is a hanging device on the back of the frame so that my collector’s can hang their new love as soon as they come home with it.
However, if I send a painting off by post, I most often take the painting off the frame and send it rolled up on a tube to spare the collector expensive shipping costs. This requires the collector to have the artwork stretched at a framer’s and also to think about how to hang it.
This is how I instruct my collectors to prep their walls and paintings for hanging.
Before you start there are a few things to consider. Depending on the structure of the wall you’re hanging your art on, you can use different hooks or hangers. Most modern houses today have drywalls but make sure your chosen nails, hangers or screws are fit for your home’s specific needs.
As a rule of thumb, for paintings that weigh less than 2,5 kilos use nails or adhesive wall hooks. For art that weigh between 2,5 and 10 kilos, plastic drywall anchors are a reliable options and for pictures between 10 and 25 pounds, you can use a metal wall anchor or a wall stud.
Time to hang!
- Install heavy duty hooks on the back of the frame. (I like the ones with two screws for heavier paintings, it feels more secure) Screw them directly onto the frame about a fourth of the length down, counting from the top of the painting.

- String a heavy gauge wire tightly between the 2 hooks. (For light weight paintings you can fasten the gauge wire with a stapling gun directly to the frame!)

-
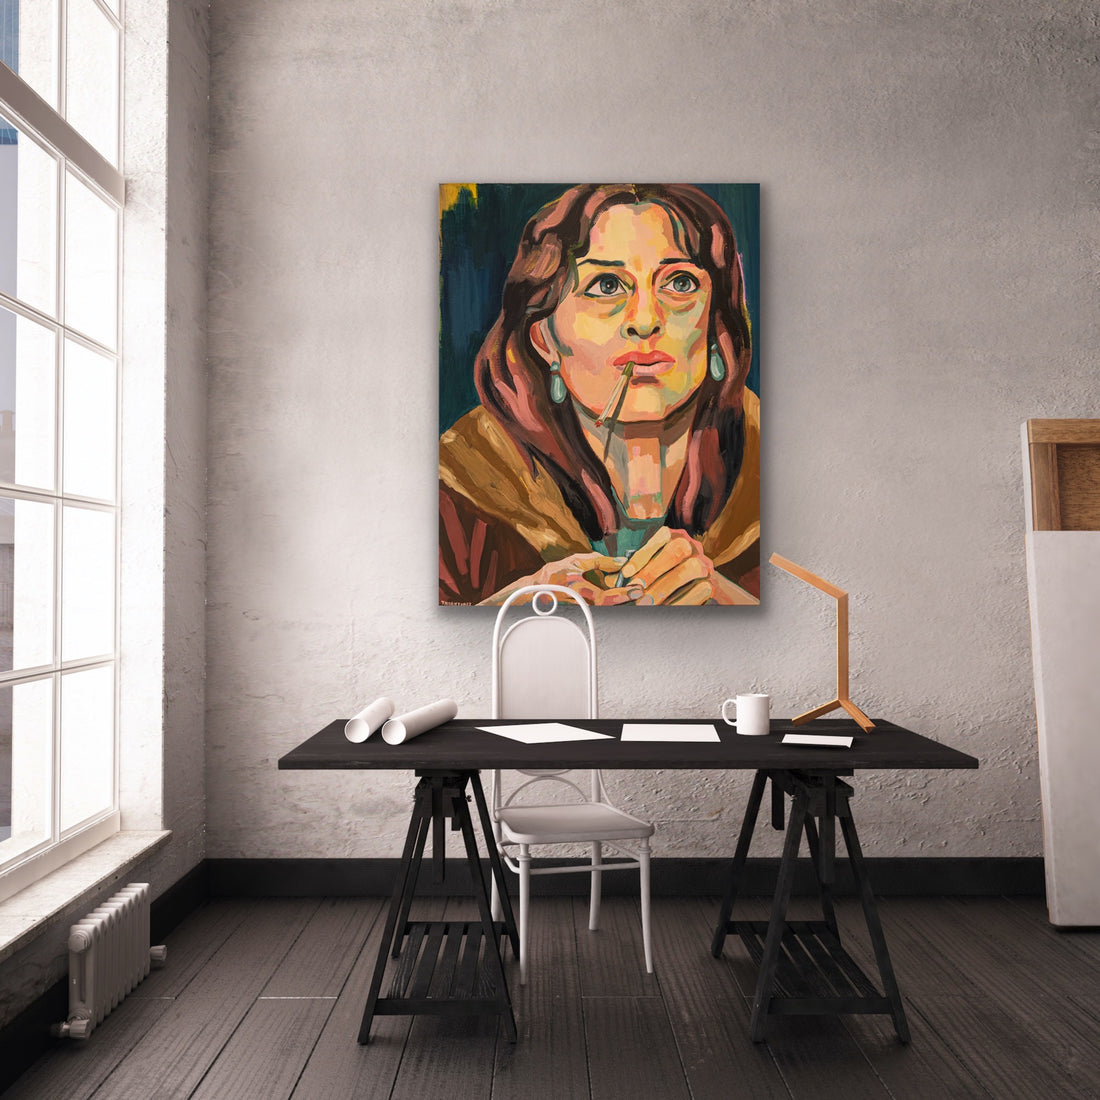
Far too many make the mistake of hanging their art too high! But in fact art is best percieved at eye level. Center your art at 57-60” hight (approx. at 150 cm) and you’ll be sure to make a statement of your art!

- To hang your artwork level, add 2 hooks (as opposed to 1) to your wall at an appropriate width apart based on the width of your artwork.
- Ensure your nails, screws or hangers stand 1 cm proud of the wall.

- Now lift the painting so that the gauge wire is above the hooks, then hold the painting flush to the wall and slide it down until the wire comes to rest on the hangers.

- Once the art is hung, use a level on top of the painting to make sure it is hanging straight.
Now all you have to do is sit back and enjoy your new piece of art, knowing it's securely hanging on your wall! (And if you're crap at choosing art and have no decorating skills have a look at this free download. And now you know how to hang it when you've made your choice!)
x